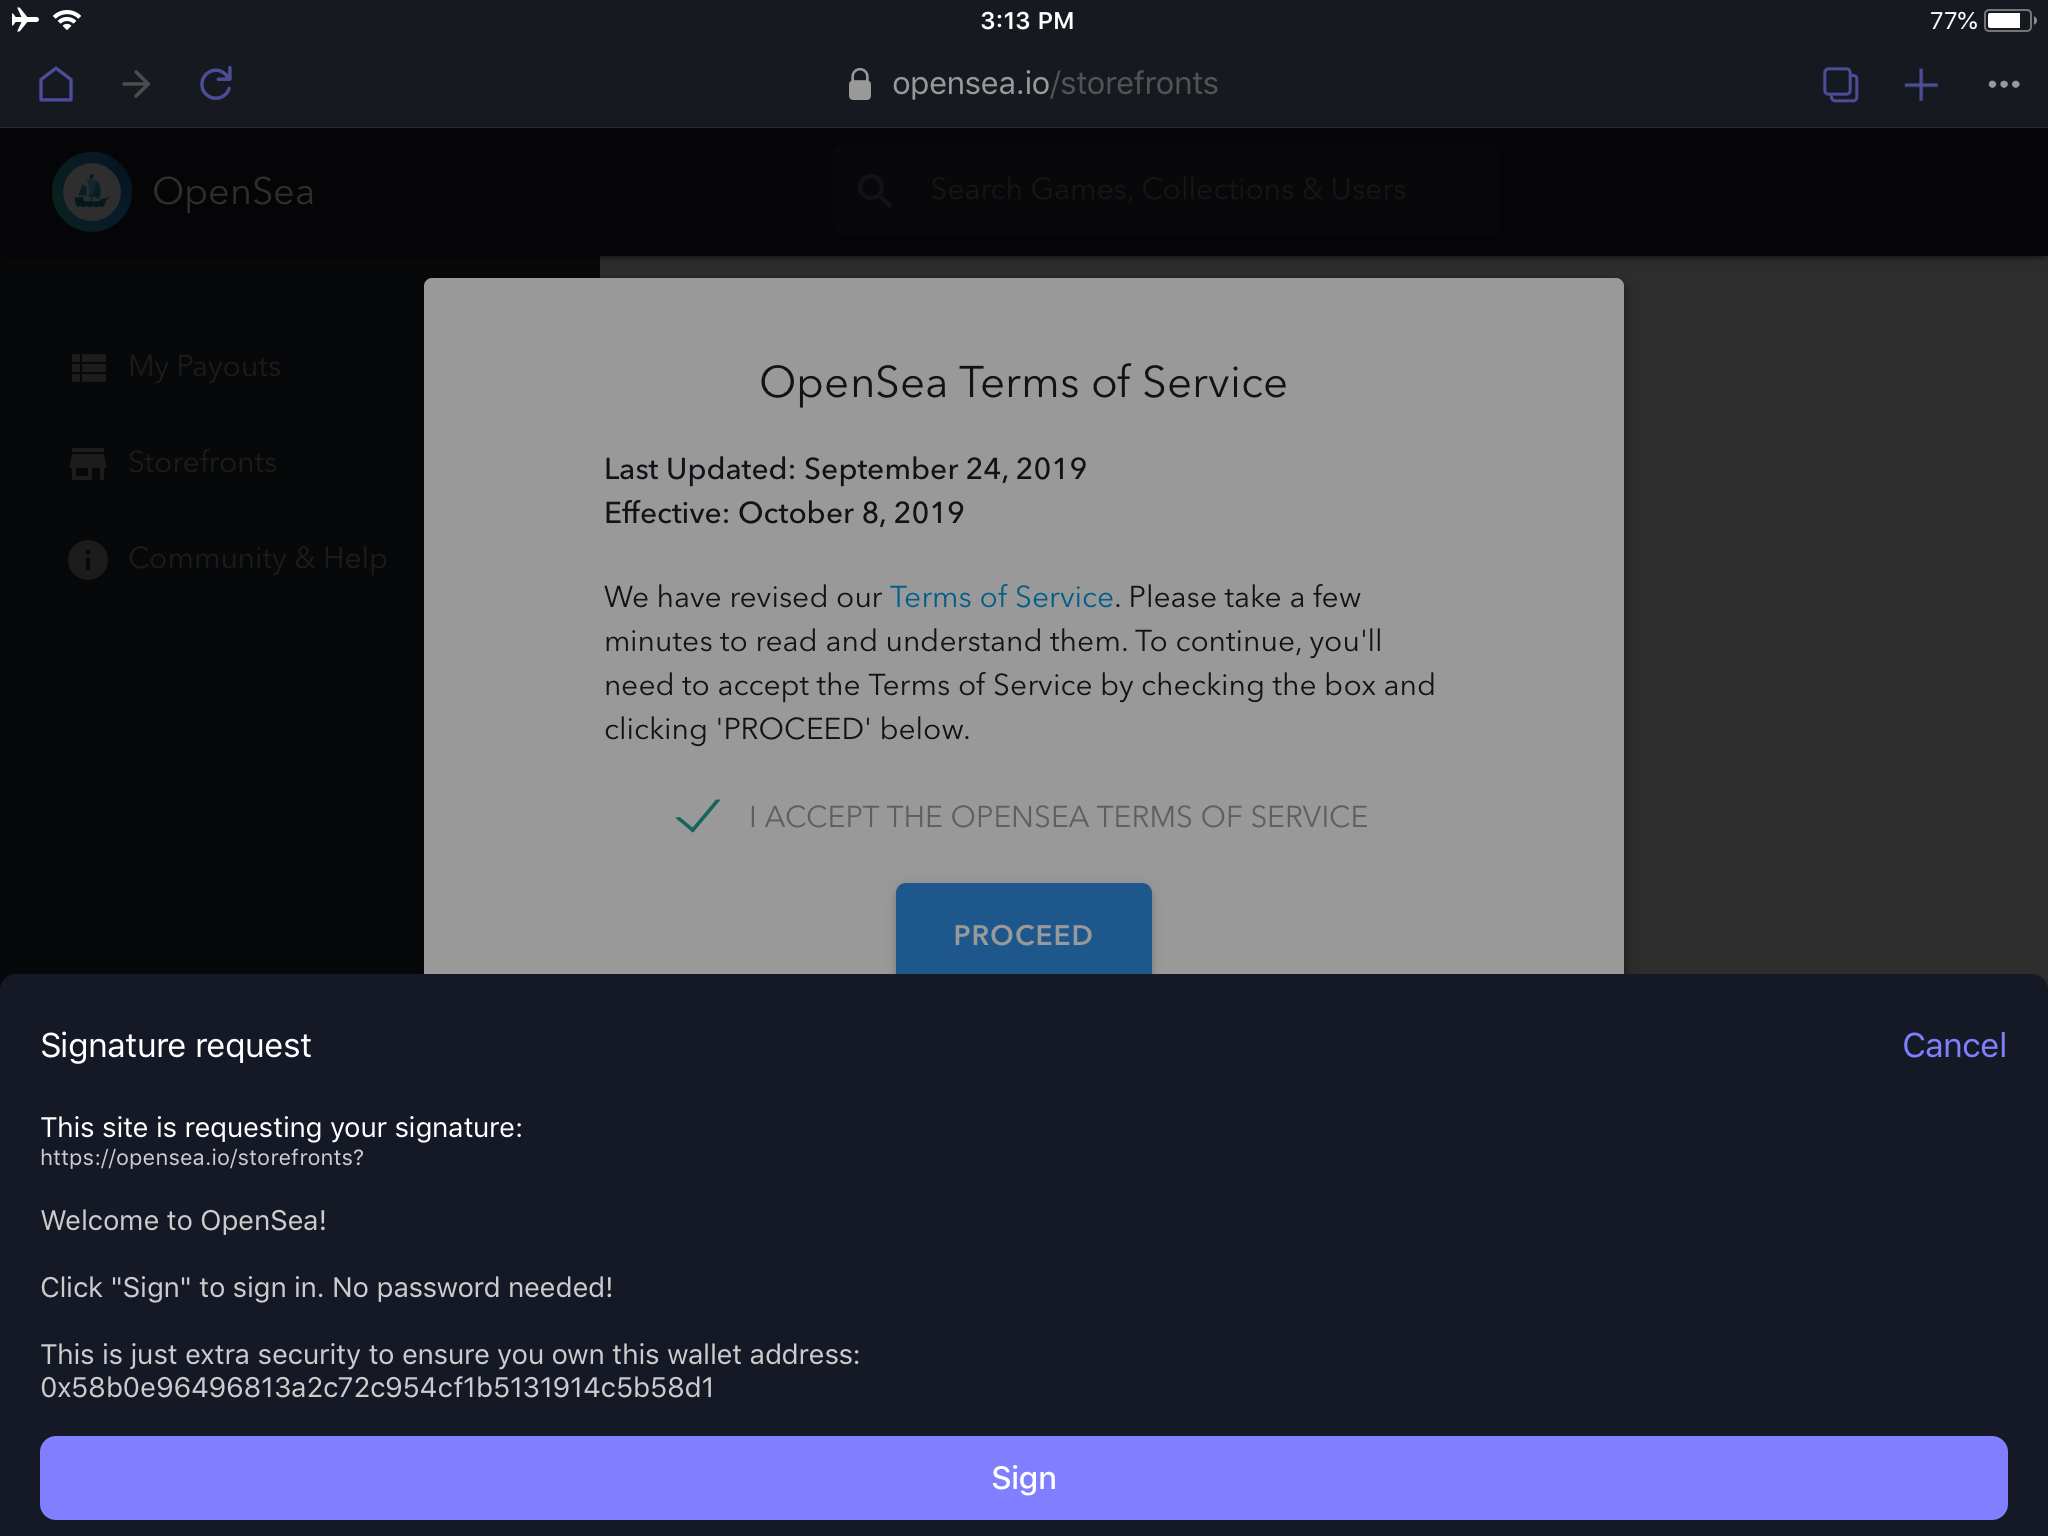
This storefront creation guide was so simple - it was done on an iPad! The Opera Browser with Crypto Wallet ethereum integration worked perfectly. The setup was seamless to create a storefront on OpenSea, then to create a digital item & configure it for sale. With very little ethereum experience (& a small amount of ETH), I was able to successfully create a storefront & list an item for sale with a set price. The price is set in the USDC stablecoin, so no matter what the fluctuations of the price of ETH, when my digital item sells, it will sell for a fixed amount. I was also able to set a maximum referral fee of 2.5% for anyone that refers.
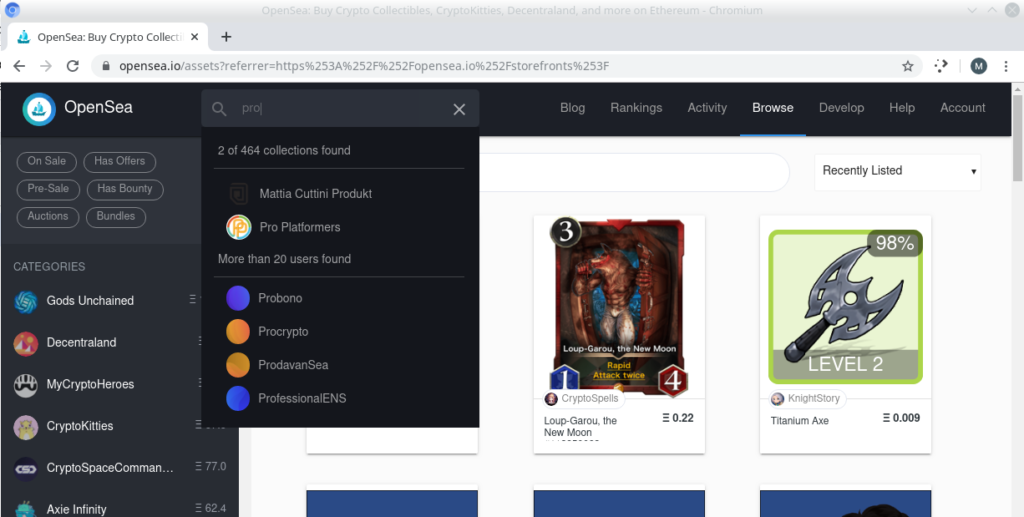
This guide does not go into embedding the storefront in your own application yet, but as you can see from this picture - the Pro Platformers storefront can be found in the OpenSea search box with relative ease alongside legends in the asset tokenization market like CryptoKitties, Gods Unchained & Decentraland.
Gas fees. See below in the next section the transaction details.
For this walkthrough, gas cost me $3.75 for the storefront & an additional $0.81 to create my first collectible which authorizes OpenSea to trade USDC so I get a fixed amount on sale.
To have a wonderful experience creating a storefront you will need these:
The OpenSea project provides a very easy way to navigate the creation of a storefront on OpenSea. Simply visit the OpenSea Storefront Manager and you are greeted with this in the browser.
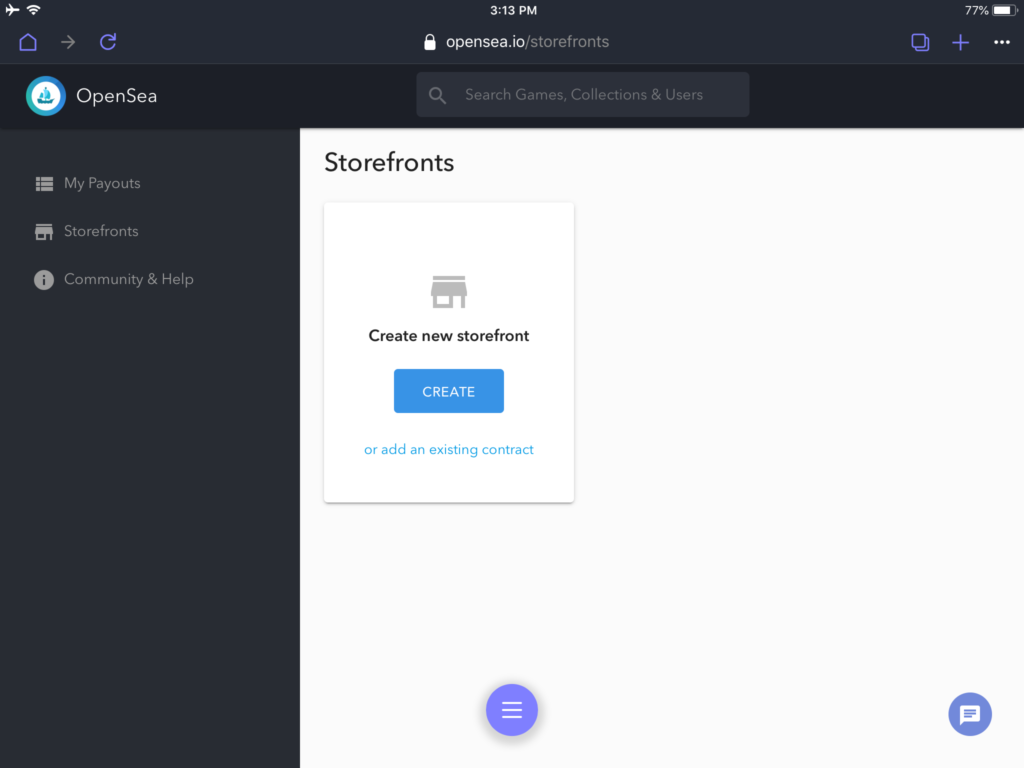
Without any browser integrated crypto wallet, a helpful screen will display showing some supported wallets. I used Opera Touch from an iPad which comes with a Crypto Wallet built in, so there were no hassles with browser extensions etc.
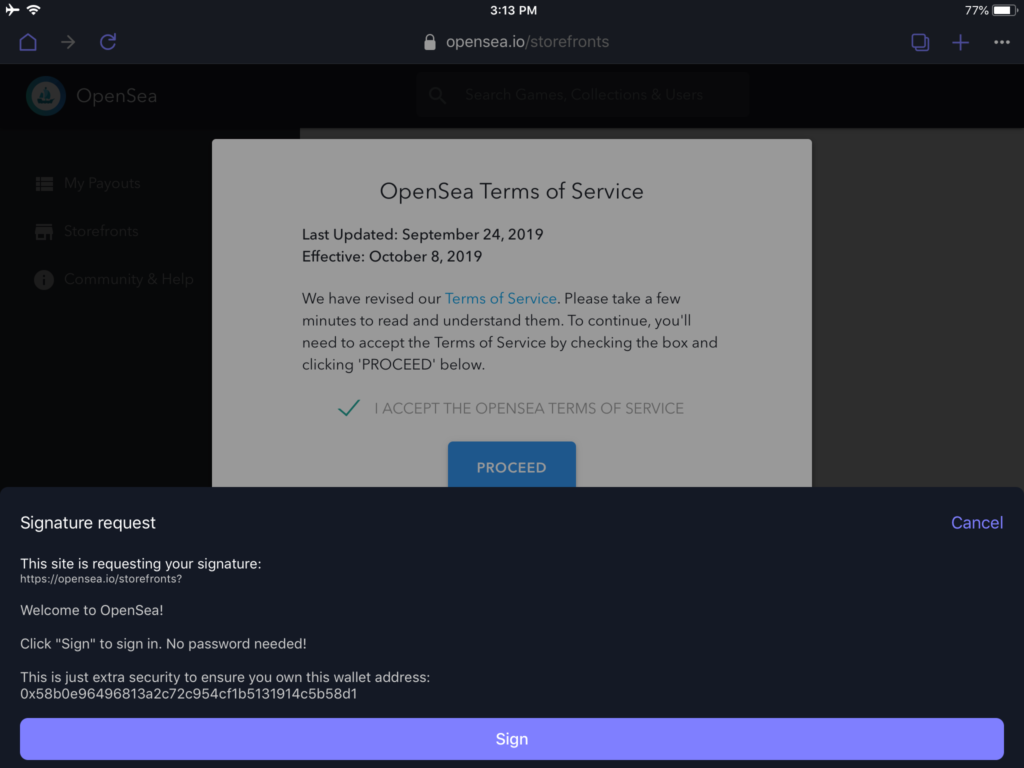
Click Create on the create a new storefront card & digitally sign the no-fee transaction to accept the OpenSea terms of service.
Fill in the store details & make the payment to cover network fees.
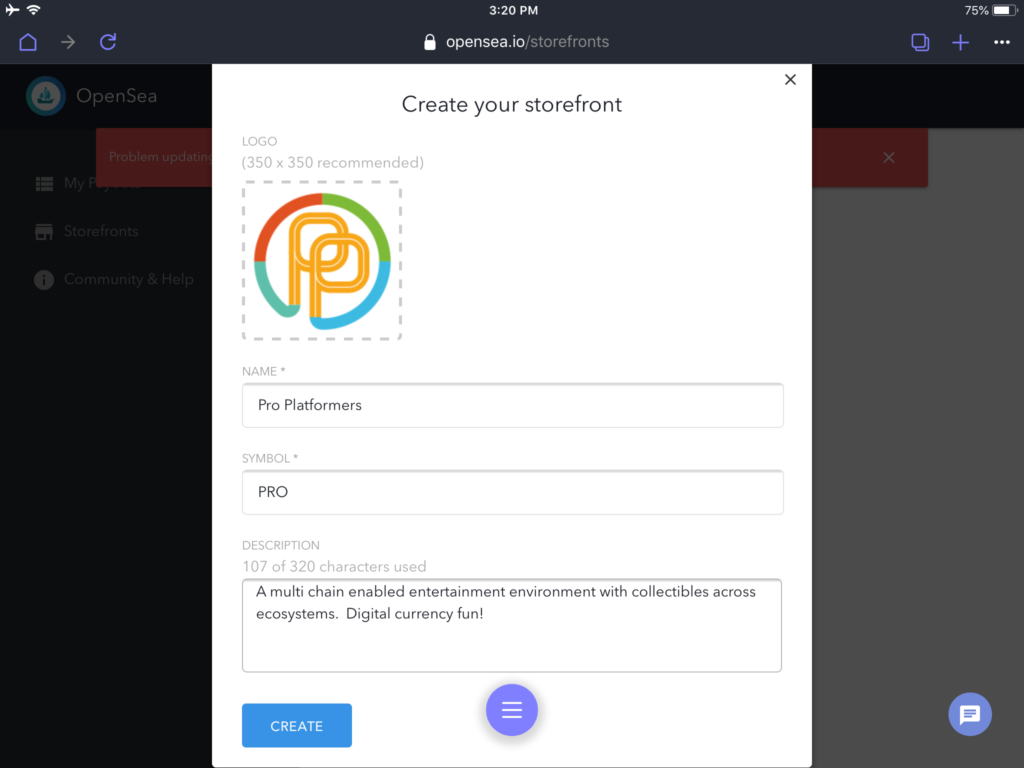
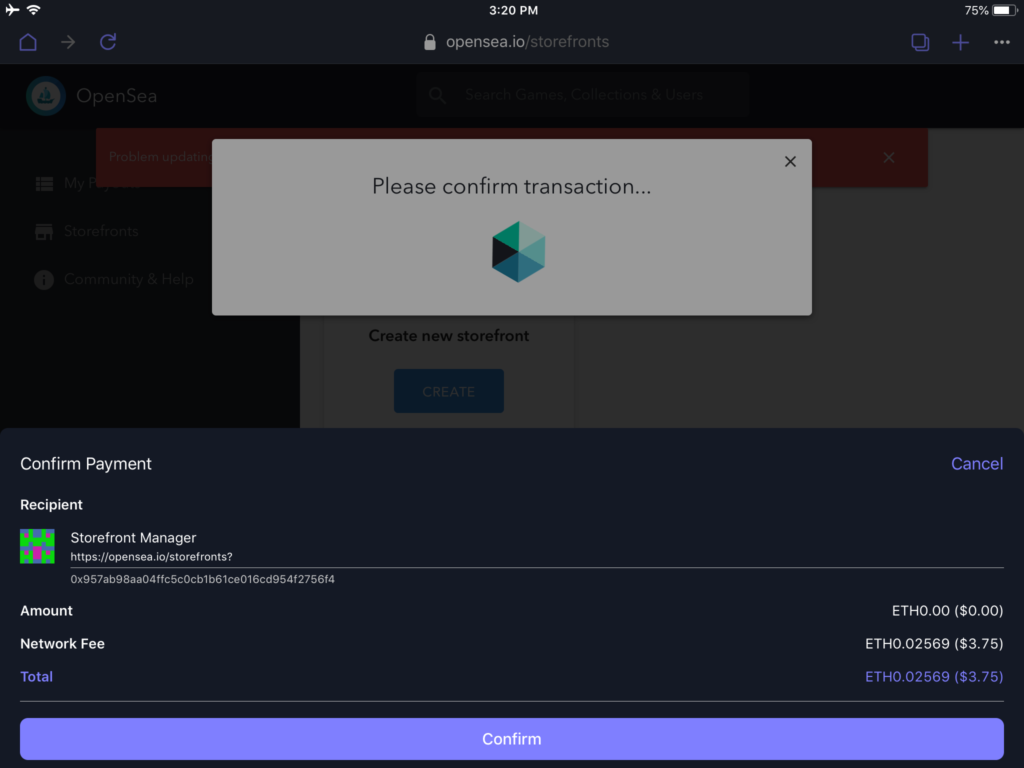
Wait for the transaction to be confirmed by the network and then the new storefront is created!
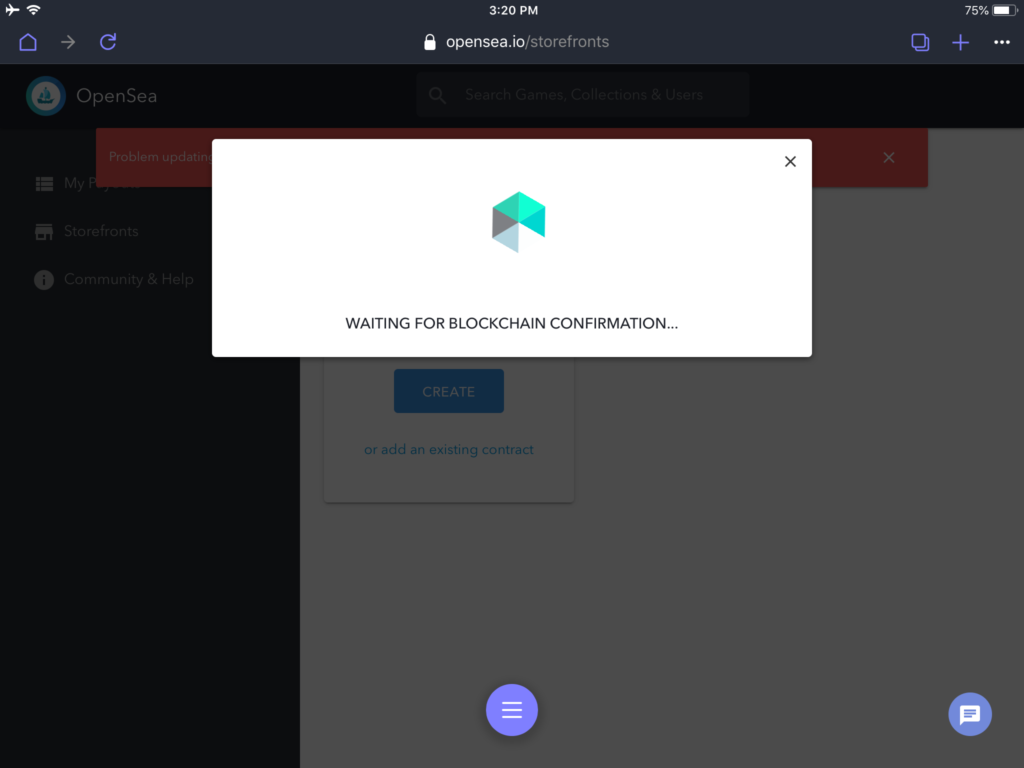
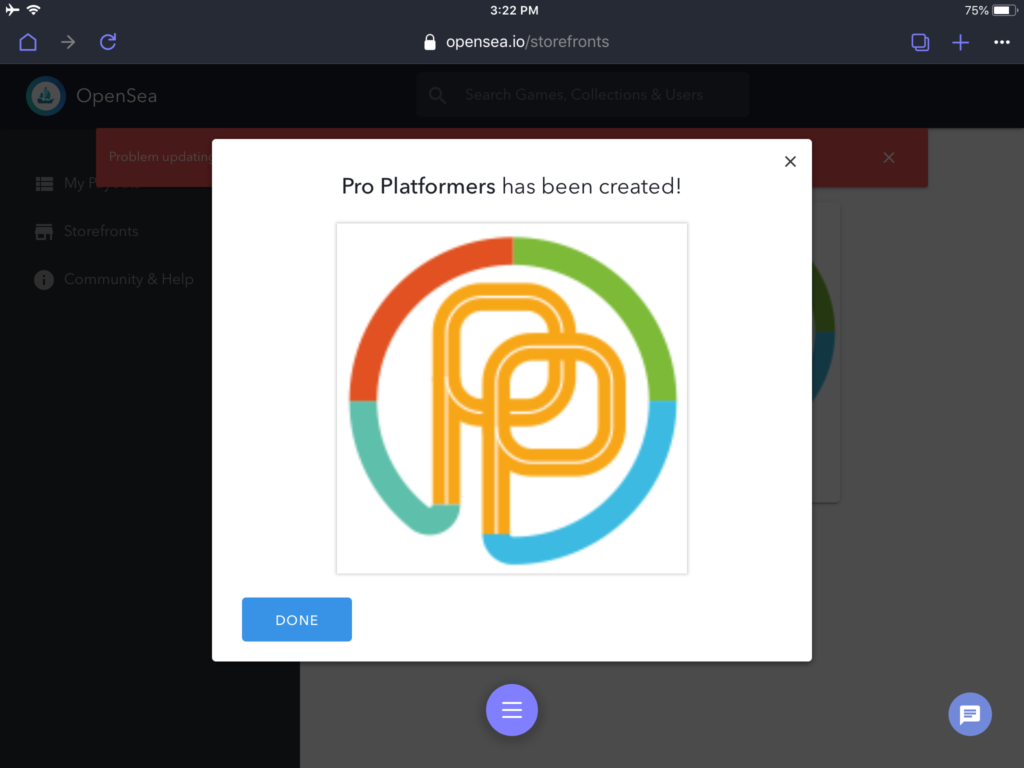
Until this point, we have created our token contract. This is the storefront - but it is empty, there are no items to sell. The token contract is empty. Adding tokens to this token contract is the following step. If you wanted to create another storefront, just repeat the above. It must be noted that creating the storefront (the token contract) is the most expensive part of the process.
Now it's time to add an item to your newly created storefront. Click into it and depending on your device width, you will see a screen with your storefront name, an edit option and a button to "Add Item". Click the Add Item button and fill in the item details form.
Hint: It will be easier if you are prepared with your asset descriptions and any images you may want to upload.
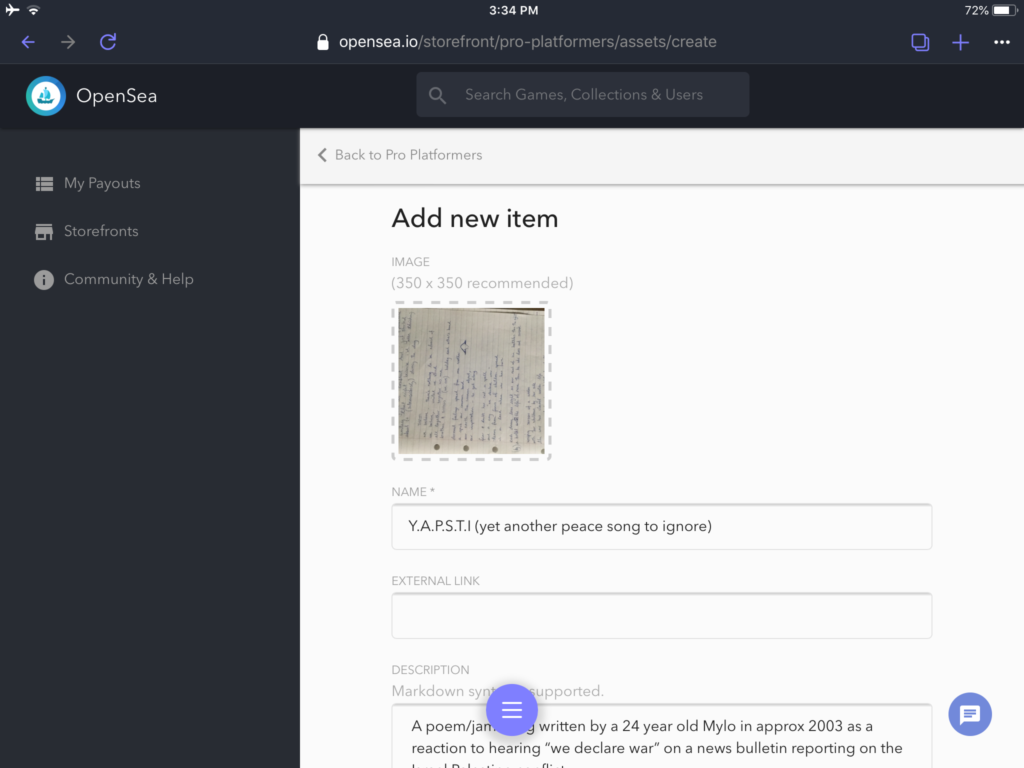
For this item, I'm uploading a copy of some song lyrics with the purchaser receiving the right to be acknowledged in my next song about "Navigating The OpenSea" - a tongue-in-cheek play on words about sailing the world of digital items!
After filling in the item details, the storefront manager requires payment authentication to create this item (e.g a unique NFT digital item) to the storefront (the token contract).
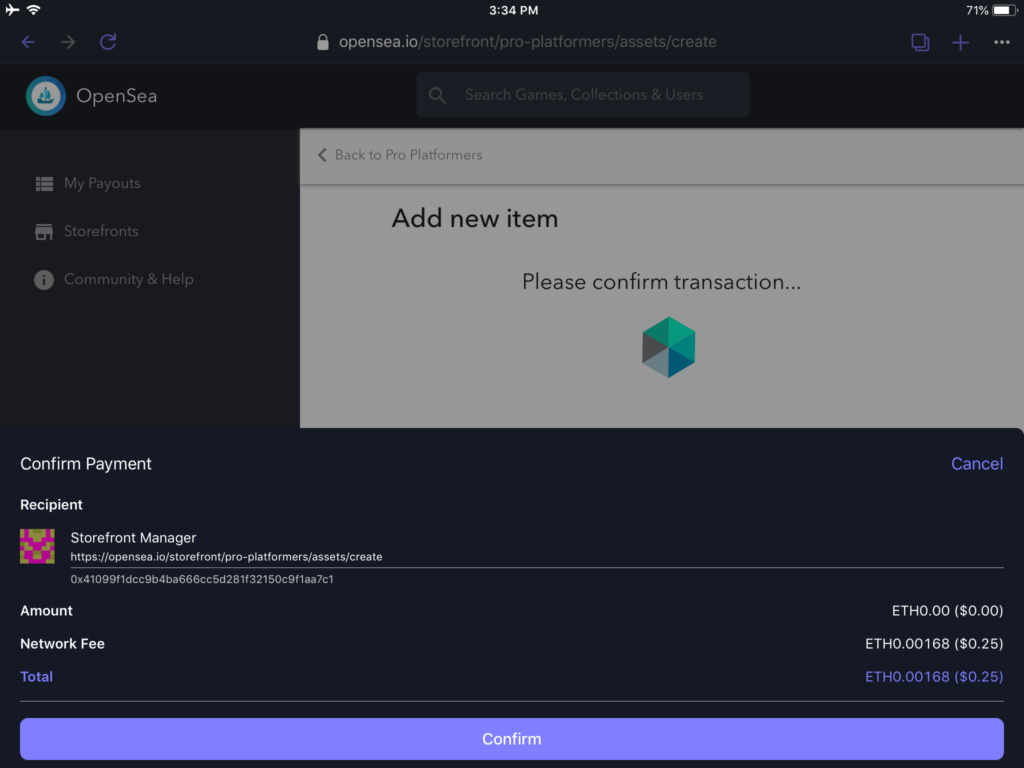
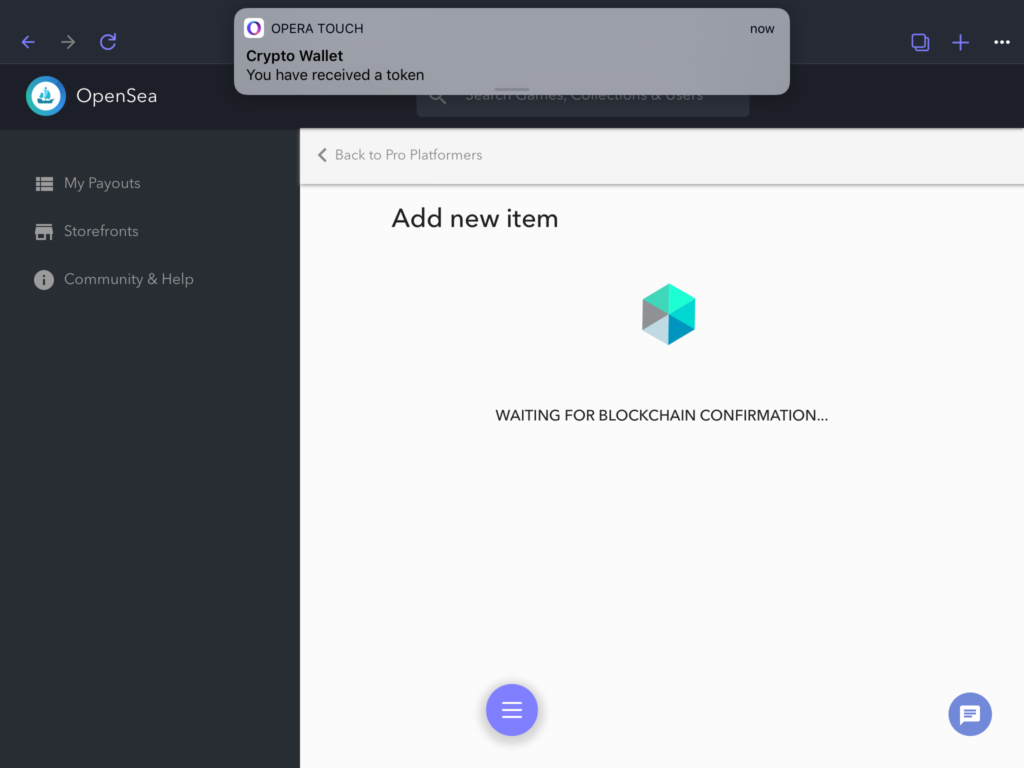
After confirming the payment, the transaction needs to be confirmed by the network. This will take about 10-20 seconds and a notification should be received by your wallet integration. The following screenshot shows the Opera Wallet giving me a notification of a token created.
The view will then refresh automatically and show the new item.
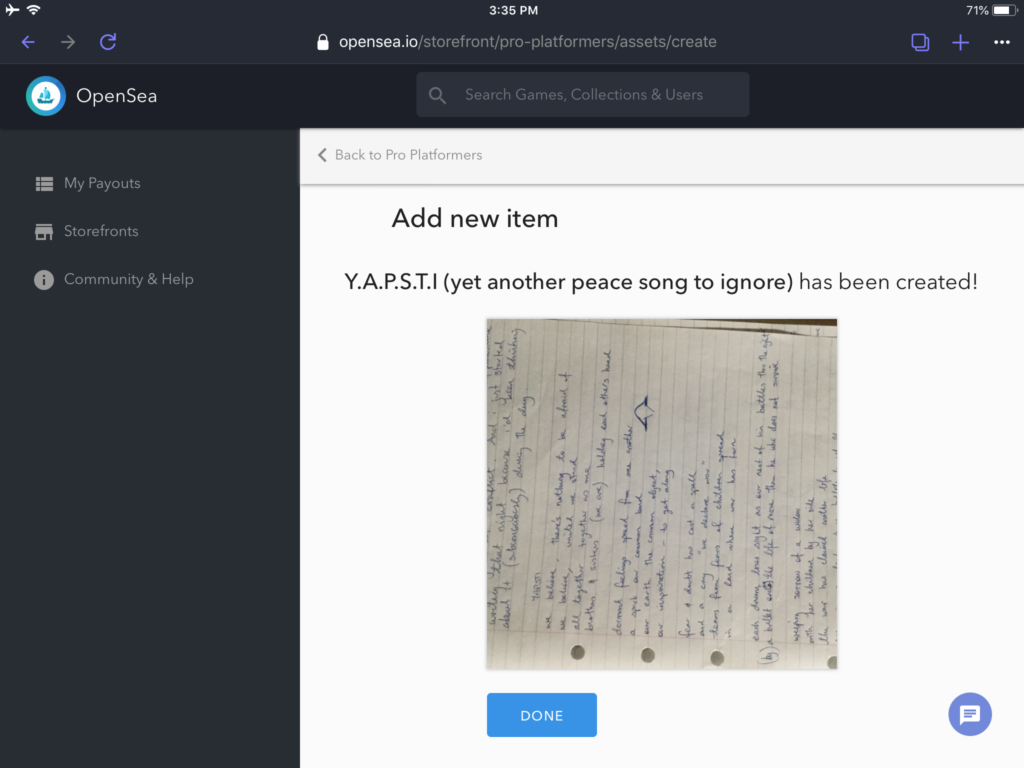
The item is in the storefront, but it is not for sale yet. Consider it inventory in the shop, but not listed for sale yet. Let's change that in the next step.
If you click the "Done" button from the previous screen or click on the breadcrumb to go back to your storefront, you will see the item in your storefront. Click into it to get to the details of the item.
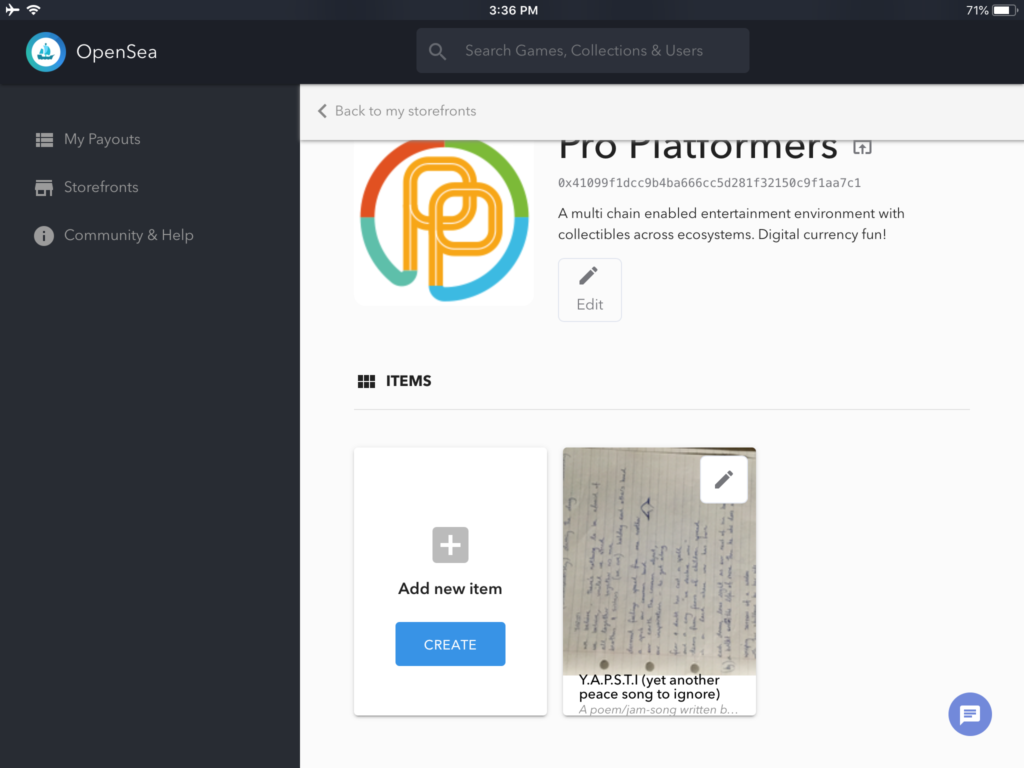
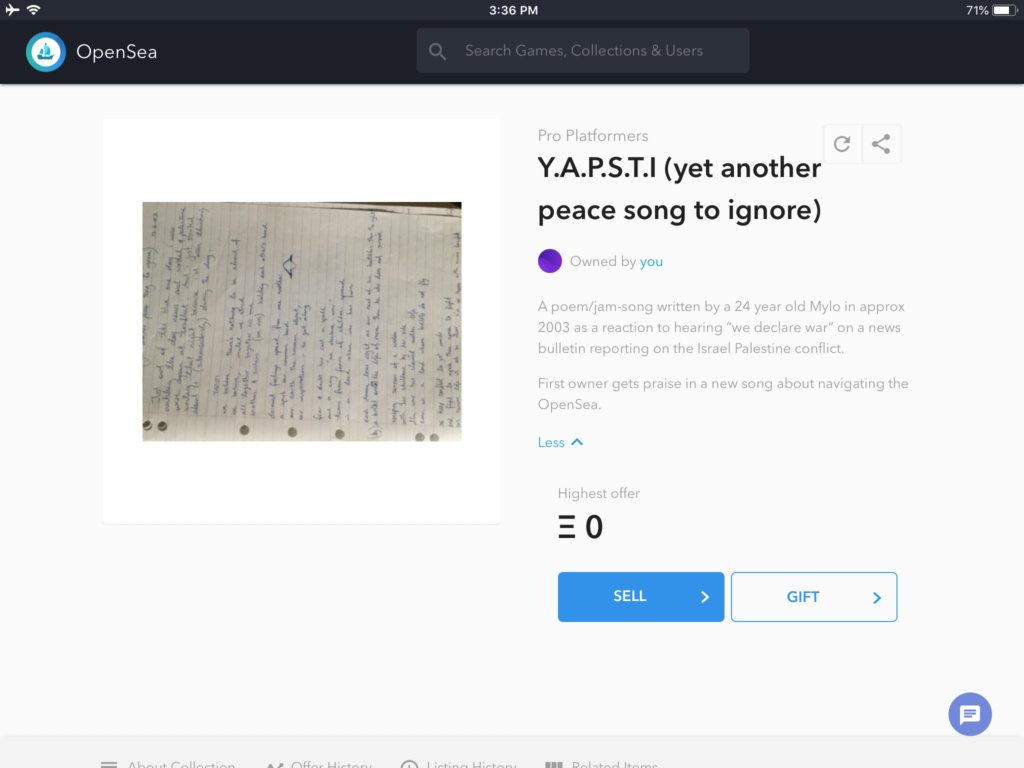
Now you know what you need to do?
Yes, sell it!
The details of how you want to sell it can be configured with:
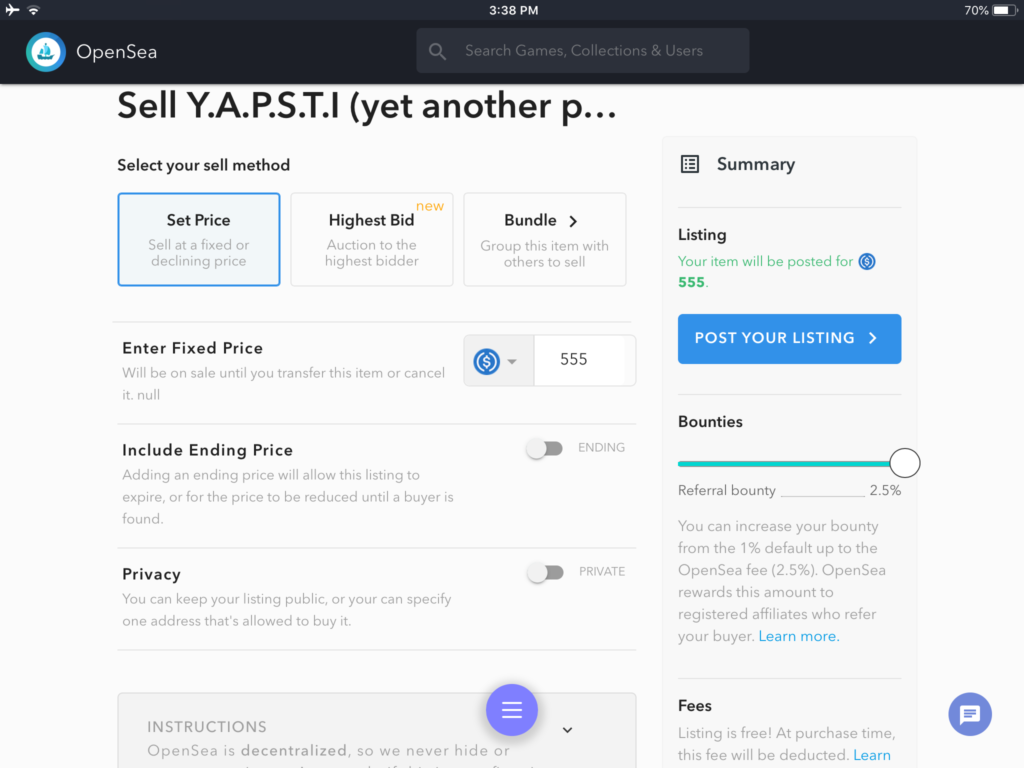
The fees is not an option to configure. Although listing the item is free, OpenSea will take a 2.5% commission for the sale.
Click on the "Post Your Listing" button and OpenSea will request for your signature authorizing them to list your item for sale.
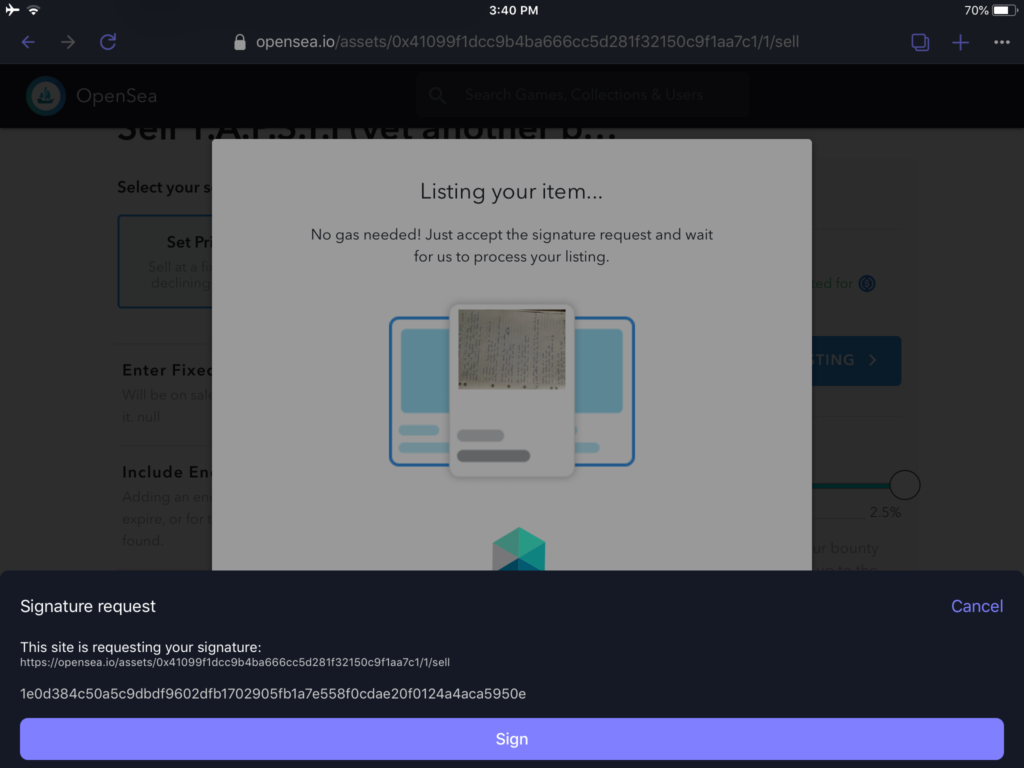
Once this is processed, your item is officially for sale!
On the first item for sale, OpenSea will ask for authorization to sell items in your account. This requires a zero payment action, however the gas fees of Ethereum still apply.
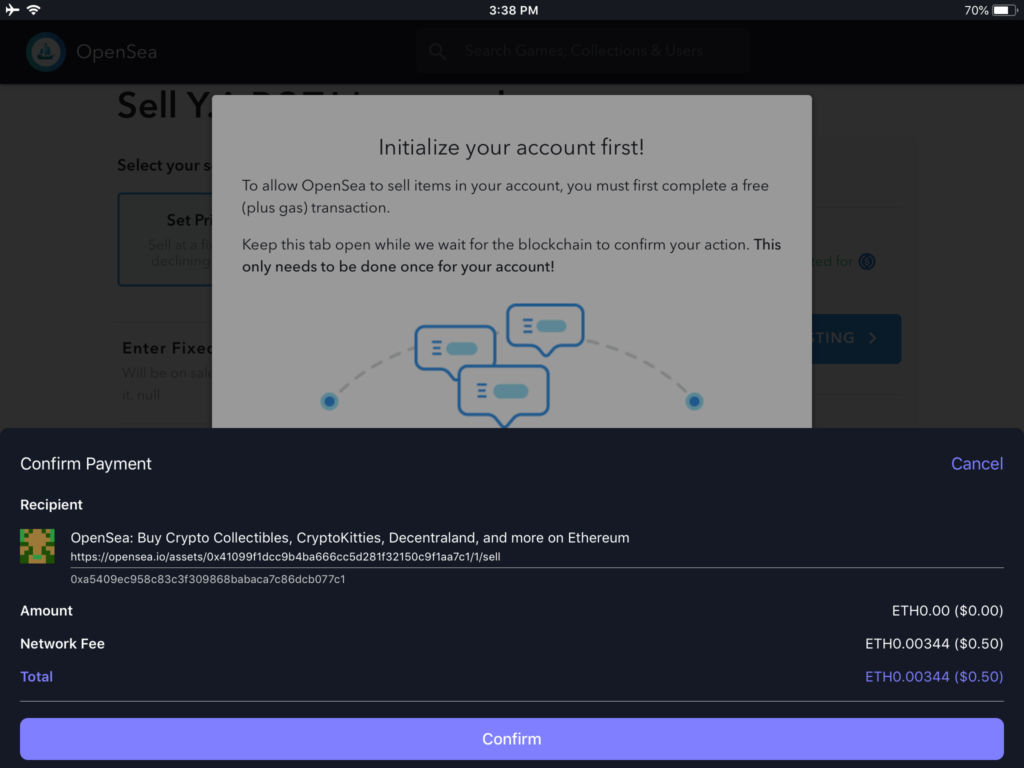
For my first item, I chose to sell with the USDC stablecoin as the currency. Because I was testing the Opera Crypto Wallet at the same time, and because of my lack of familiarity of the Ethereum transaction workflow as well as the requirement to authorize the use of a stablecoin, I was left a little overwhelmed with the requirements to confirm all of these transactions. I was lost for a few moments, but had faith that the system was working as intended.
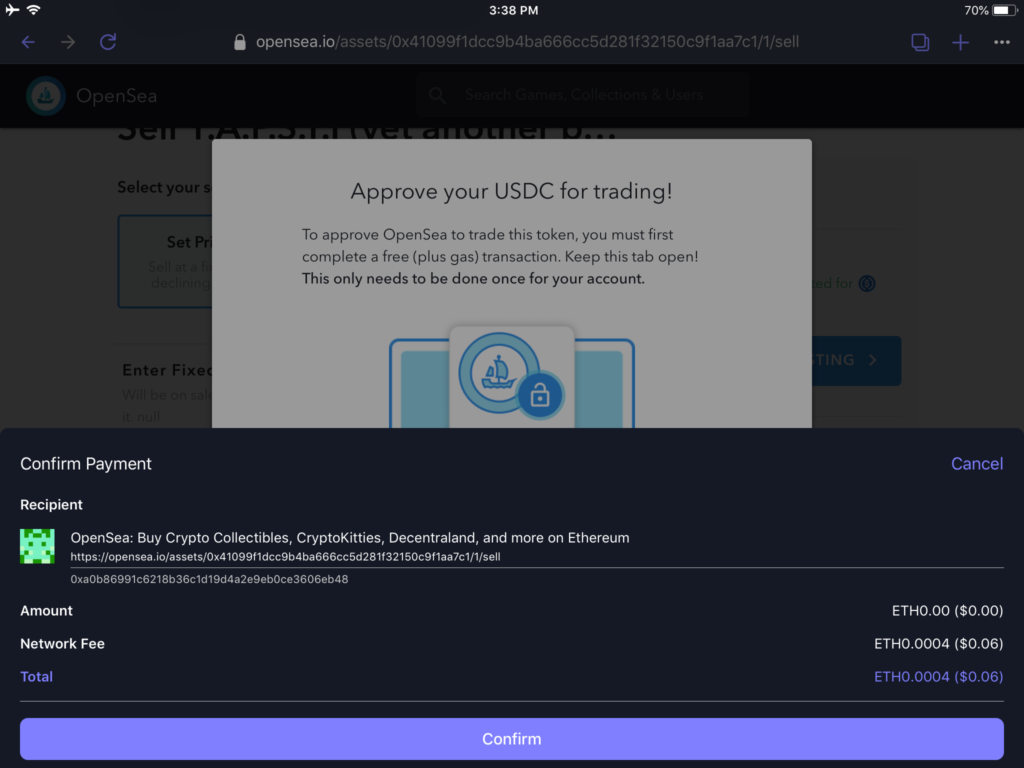
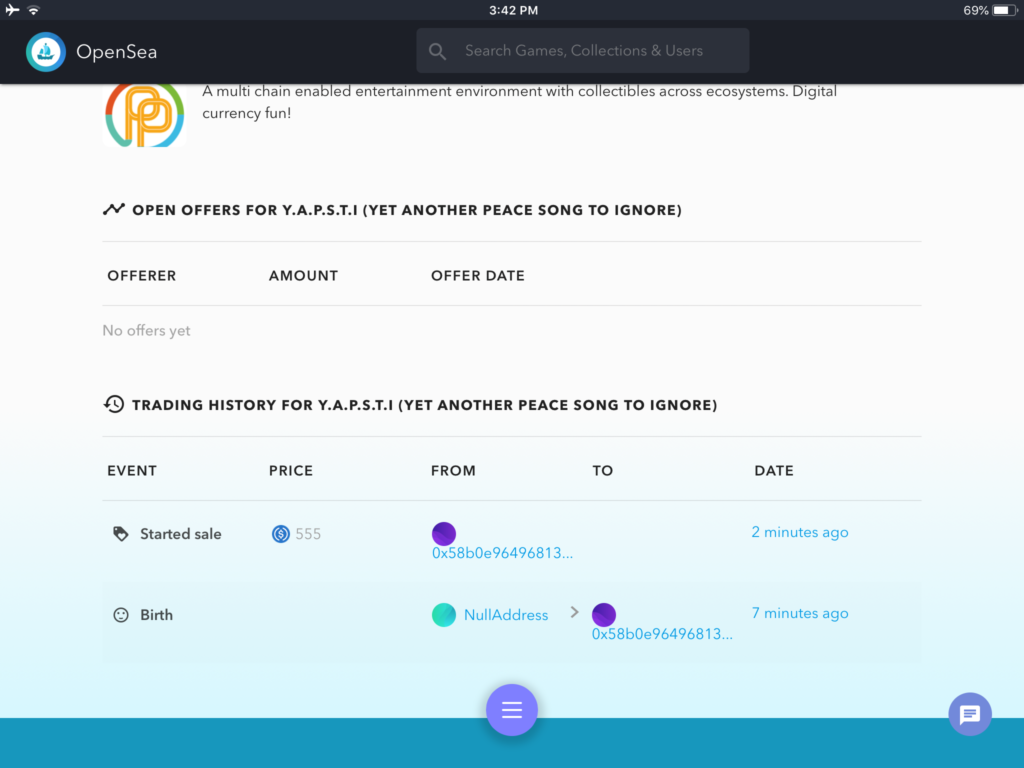
We made it! We have successfully listed our digital item for sale in our new storefront! Clicking into the item, we can see it's history from it's birth to it being listed for sale. In this case it is for $555 in USDC stablecoin.
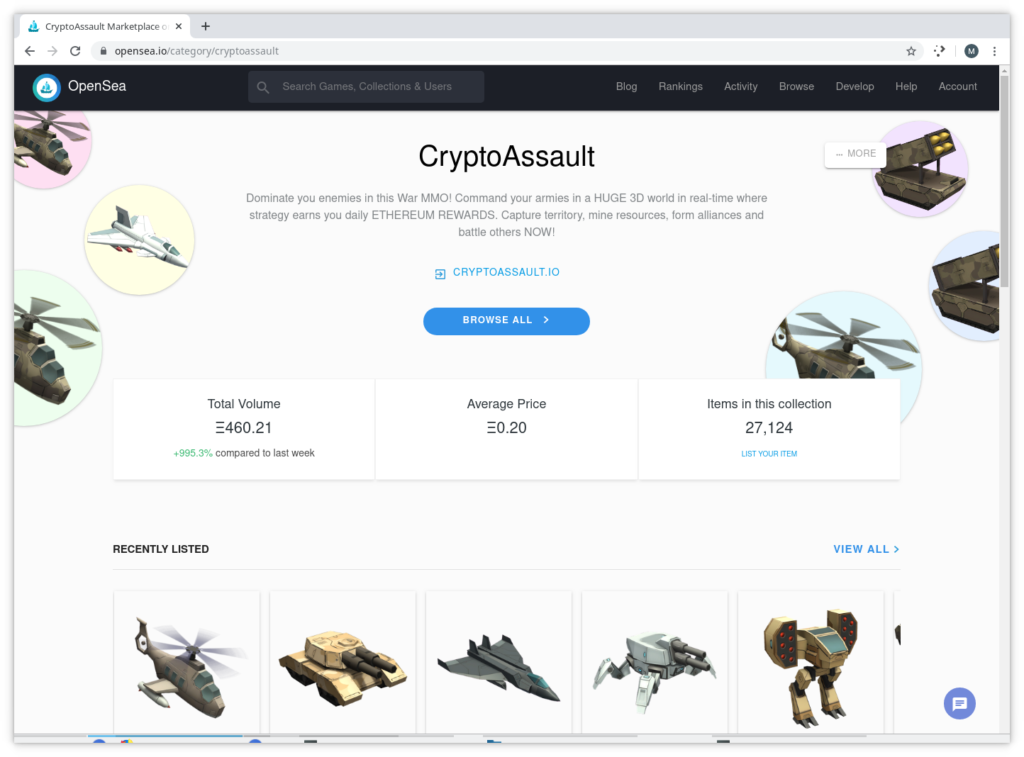
This only the beginning of the collectibles marketplace journey. The simplest next step would be to use storefront editor to make it look nice. Take the Crypto Assault storefront as a clean example.
Other options include embedding the storefront into a website, or into a mobile application.
