Written by KomoDeFi Editorial Team on April 14, 2020

Verus Crypto Mining & Staking Wallet With Blockchain ID - Part 1

Verus wallet is the most comprehensive cryptocurrency wallet so far from features such as GPU and CPU mining from your desktop. Verus wallet has also integrated a fully-functional blockchain called VerusID for information interchange. It is an opensource and community-driven project developed by verus coin.

Verus (VRSC) will feature in the orderbook app which enables online communities to be engaged with atomic swapping content creators through the atomicDEX mobile app.

These IDs are able to sign messages and files, that anyone can verify (without ever needing an ID to verify). The wallet is really comprehensive with different settings for different use cases, which makes verus a #1 choice for a desktop wallet.

This is a multi part review because Verus has much technology to explore already in 2020:

  • Part 1 - The Wallet
  • Part 2 - Blockchain ID - VerusID (Q2 2020)
  • Part 3 - Create Your Own Blockchain In Verus Wallet (Q3 2020)

The Wallet

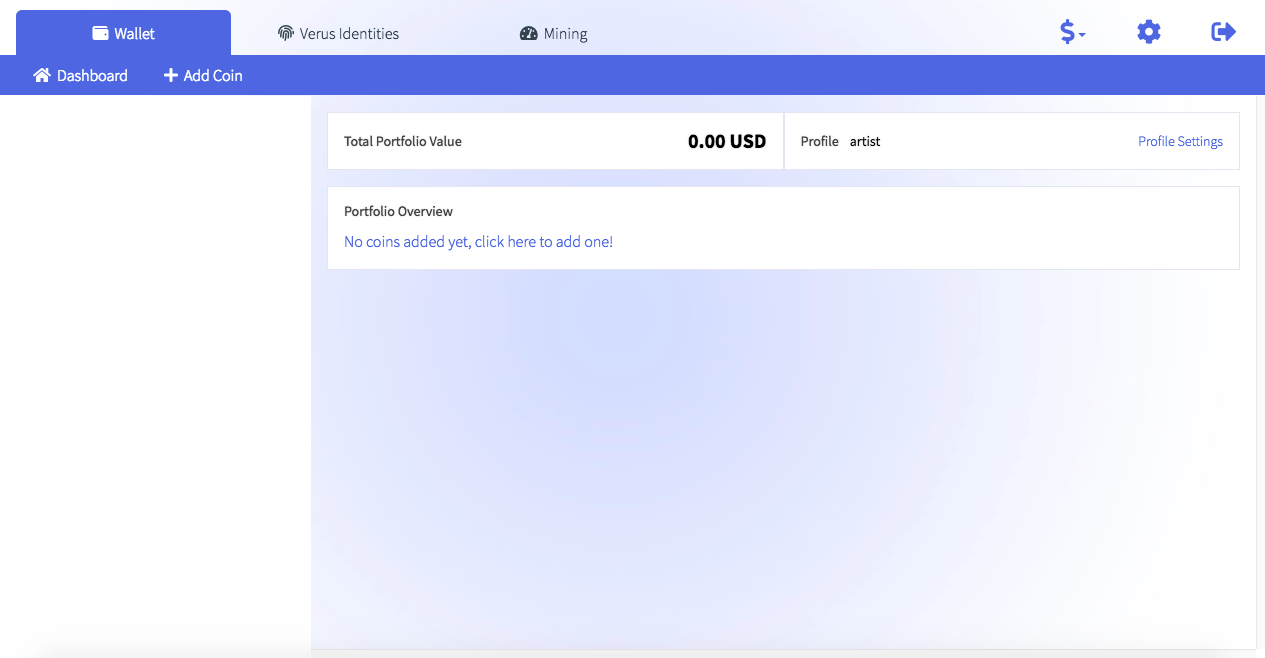
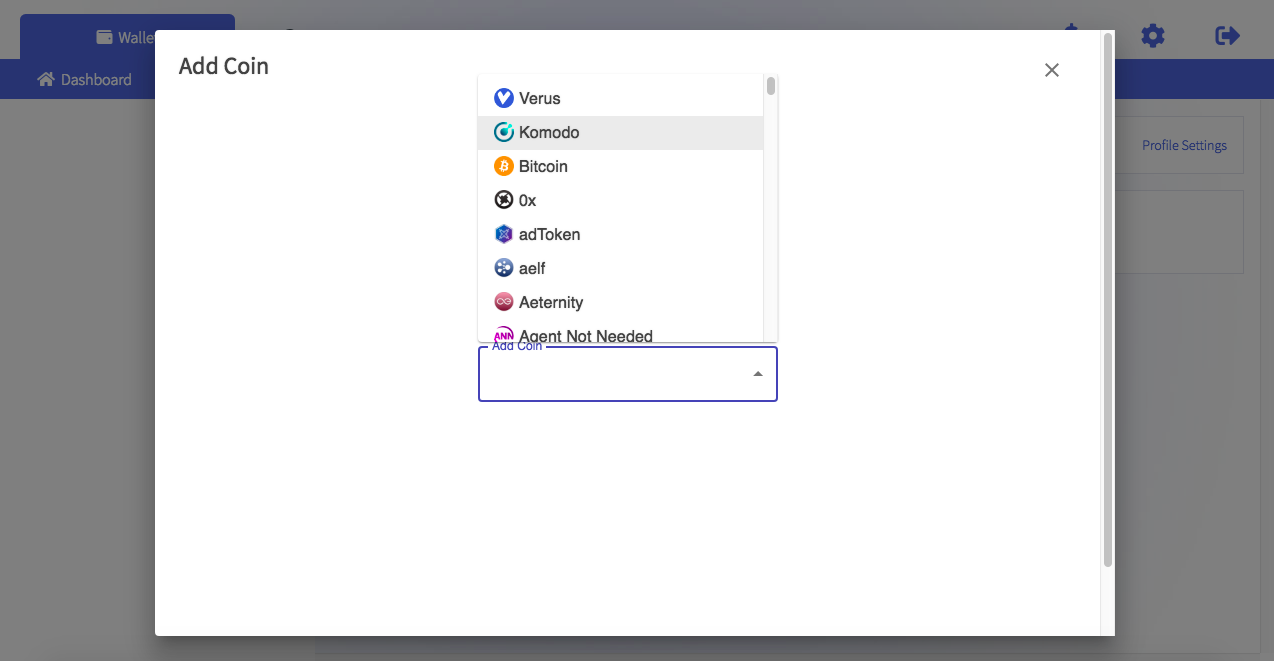
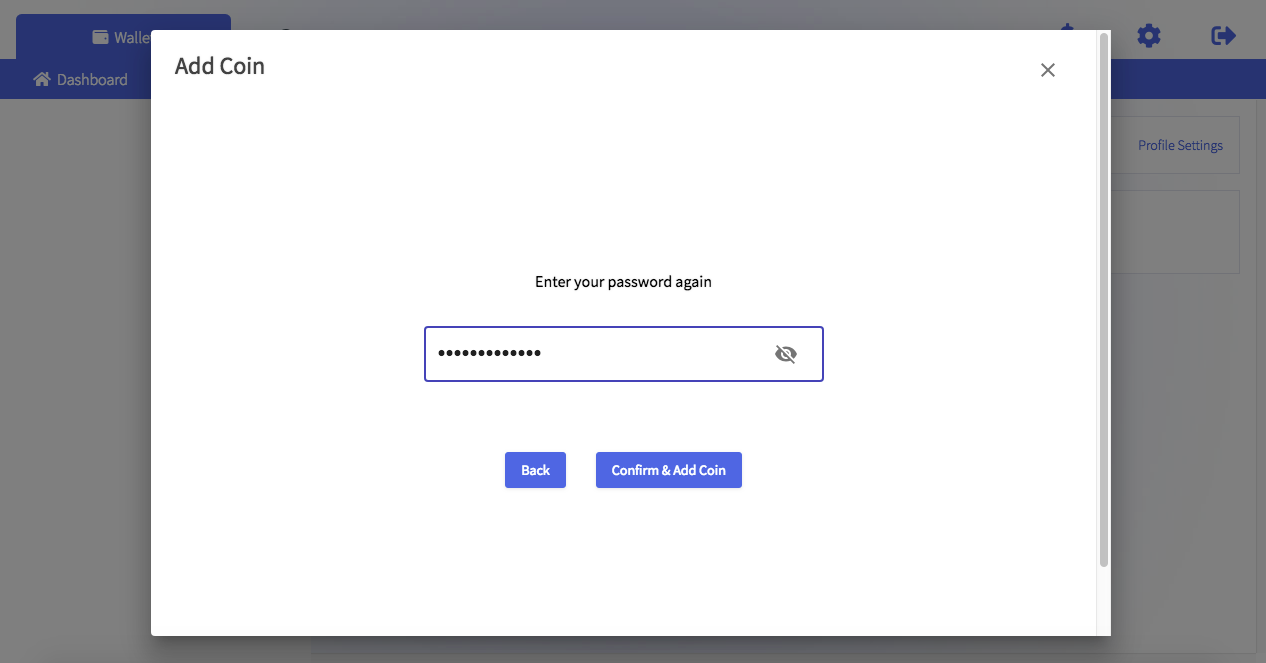
The wallet is developed and designed on a simple bi-colored theme. UX and UI are really intuitive in order to solve onboarding issues for newbies. You have to create a profile name (multiple profiles can be created). An account is referred to as a profile in verus.

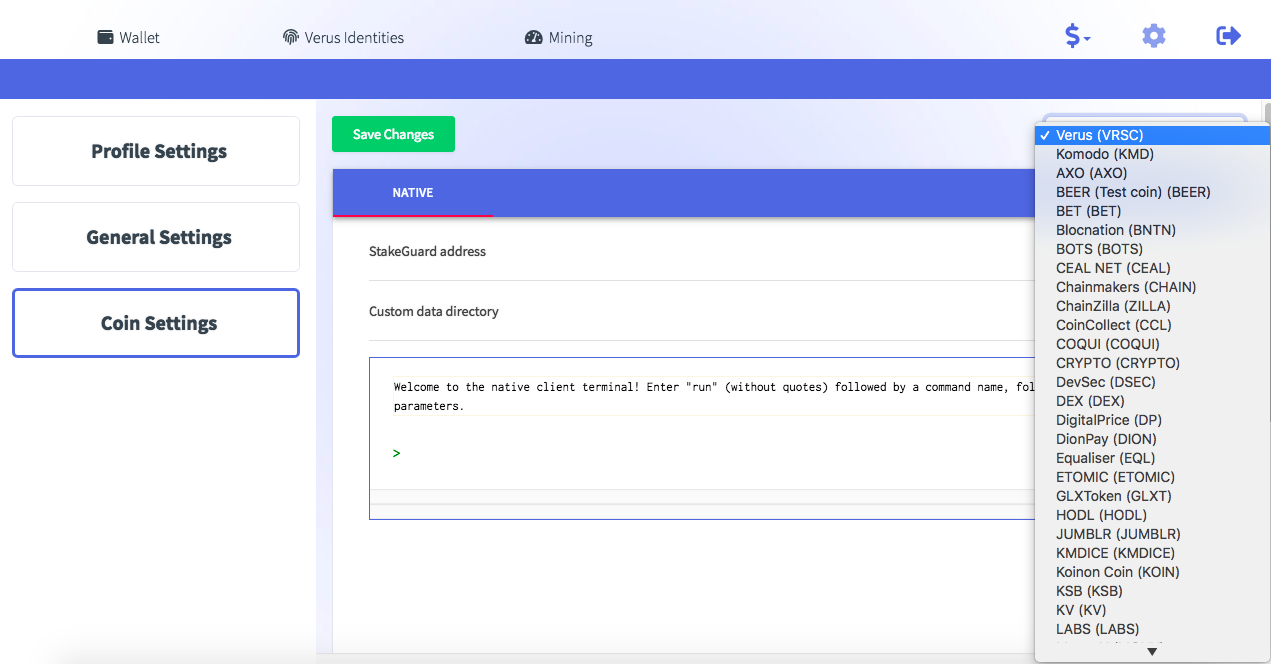
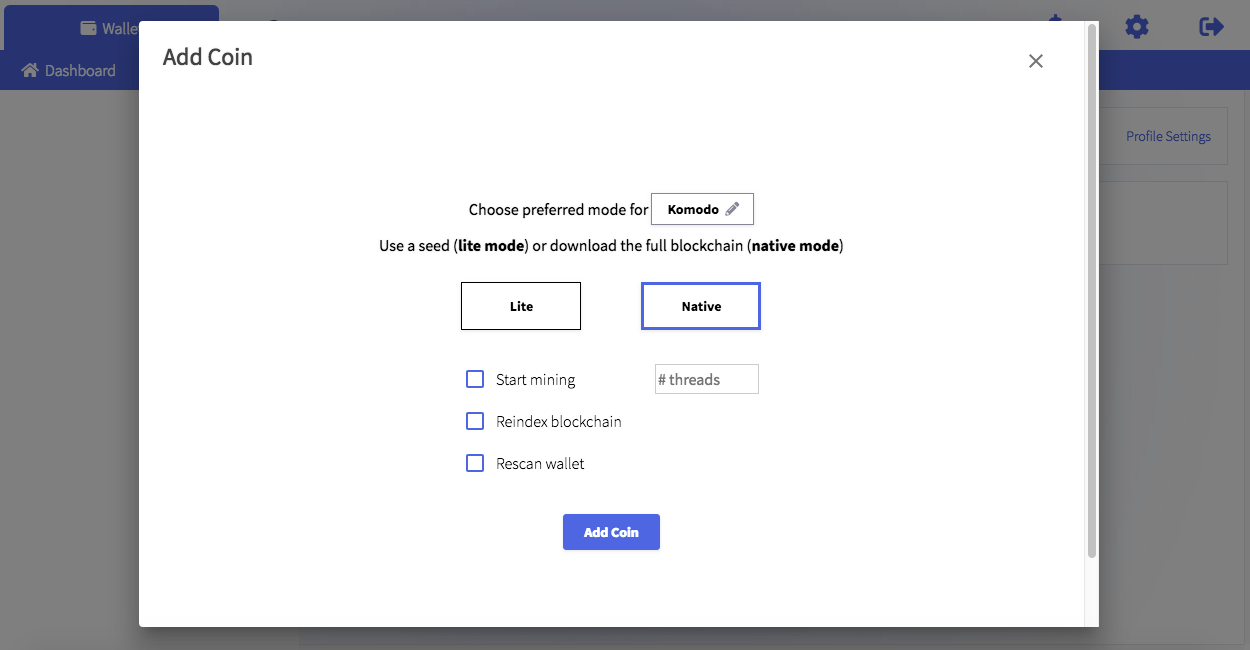
Coins or tokens can be used on both Native or Lite mode. Native mode downloads block data and is generally used for mining which allows Verus to use your CPU or GPU threads to mine coins. However, the lite mode can be used for general storing and transaction capabilities.

Support

Help and Support are available via the official Verus Coin discord channel. There is an active community of developers, contributors, and enthusiasts. A complete FAQ and Wiki can found explaining in-depth about the ecosystem and algorithms.
The resources are open source on GitHub, where you can find code for all of the wallets and libraries developed by Verus. You can download the wallet from the Verus project's website. It is available for Win, OSX, Linux and both Android and iOS.

Create A Profile (aka Account)

Check on “Launch into this profile next time” to make one of your profiles default or primary profile

Get Started

Select any path all of these options are available on the dashboard

Add Coin

Click on add coin to start using the wallet, you can add multiple coins with different settings. Verus supports more than 150 coins from different blockchains and technologies.
Select a coin

Select Mode (Native or Lite)

Select your preferred mode if you want to start mining right away check on the Start mining box and enter the number of threads you want to allocate for mining

Generate Seed or Restore Wallet

Use existing seed if you want to restore your funds or enter a new seed

Attach Seed to Profile (Or Use Once Off)

This option will allow you to use Verus sweepingly, you can create different seeds for different coins or use a single seed throughout your entire profile/coins

Encrypt With Password

Create your password and add your coin, this password is applied on your profile (it will be used at the time of login

Start Sending & Receiving Coins

Start sending and receiving

Configuration Settings

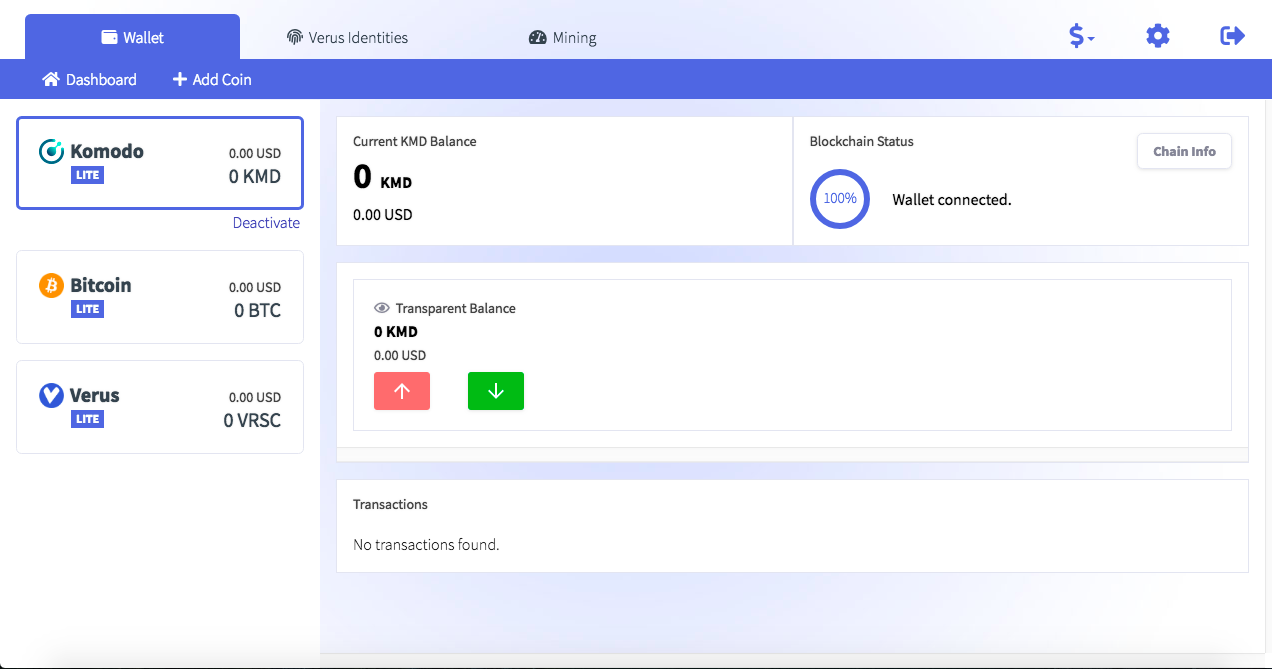
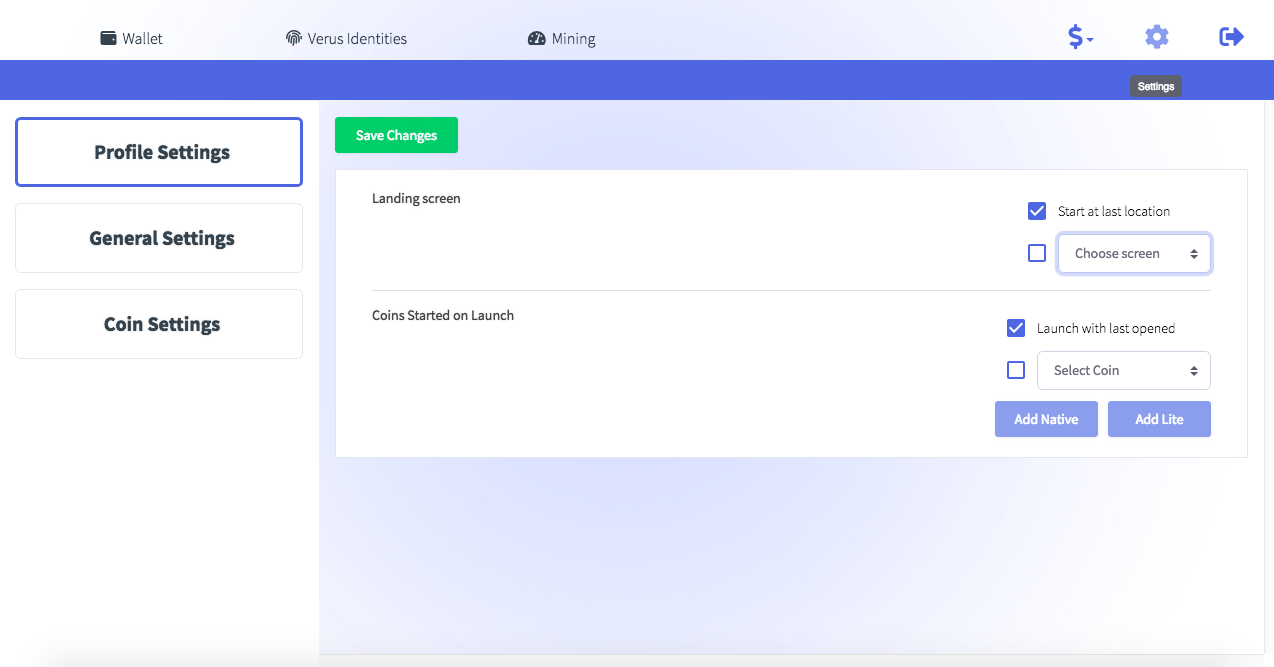
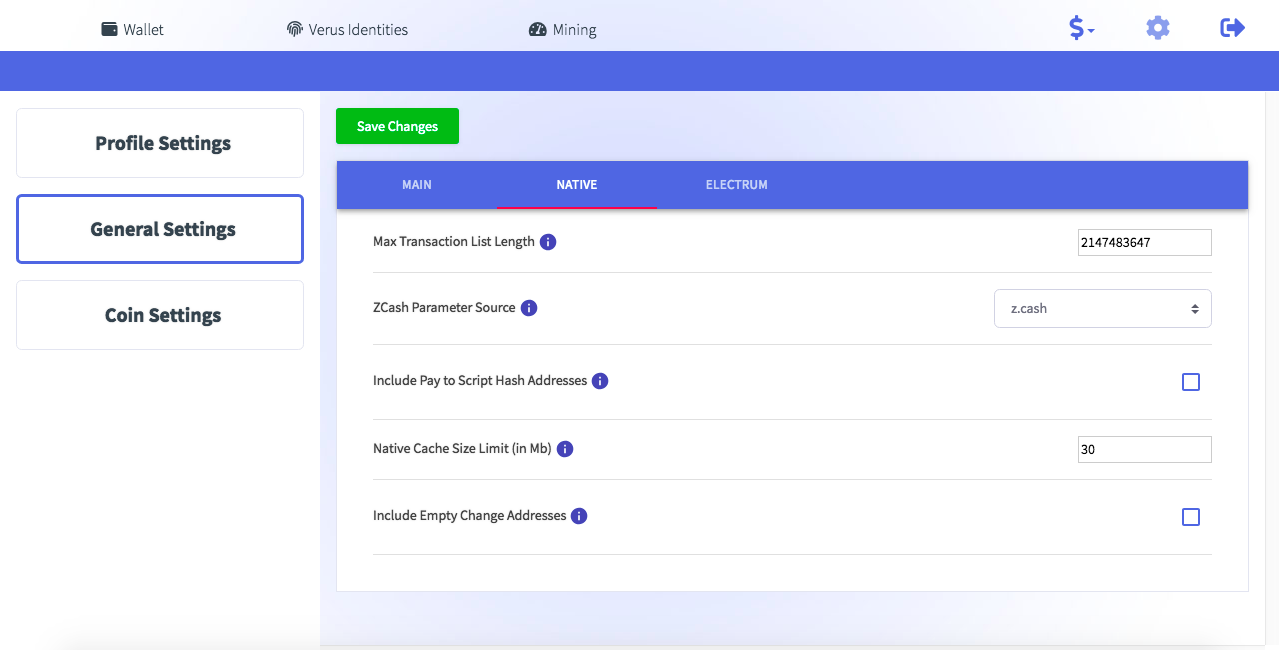
Verus has got the coin, profile and general settings, each of these settings are comprehensive and complex for better user experience. You can also change the display currency from any of the given Fiat values.

Profile Settings (Layout)

You can change your landing screen to one of four, you can also launch selected coins on startup

Run Command On Coins

Run commands for selected coin

Dev Mode Settings (Bleeding Edge Testing)

Change host, port, enable developer mode, enable testnet under General Settings -> Main

Native Mode Settings

Change block parameters source to Verus.io or Agama, configure cache limit for native coins (for mining/staking, VERUSID purposes) under General Settings -> Native

Lite Mode (Electrum) Settings

Change client -> server settings, use a proxy server or use a custom electrum server under General Settings -> Electrum
Back to Top
Experience Web3
© 2024 komodefi.com